This guide walks you through how to purchase and manage add-ons within the platform. Add-ons are optional enhancements that extend the platform’s capabilities and tailor it to your specific needs. In this guide, you’ll learn how to browse available add-ons, make purchases, and manage them to get the most out of your platform experience.
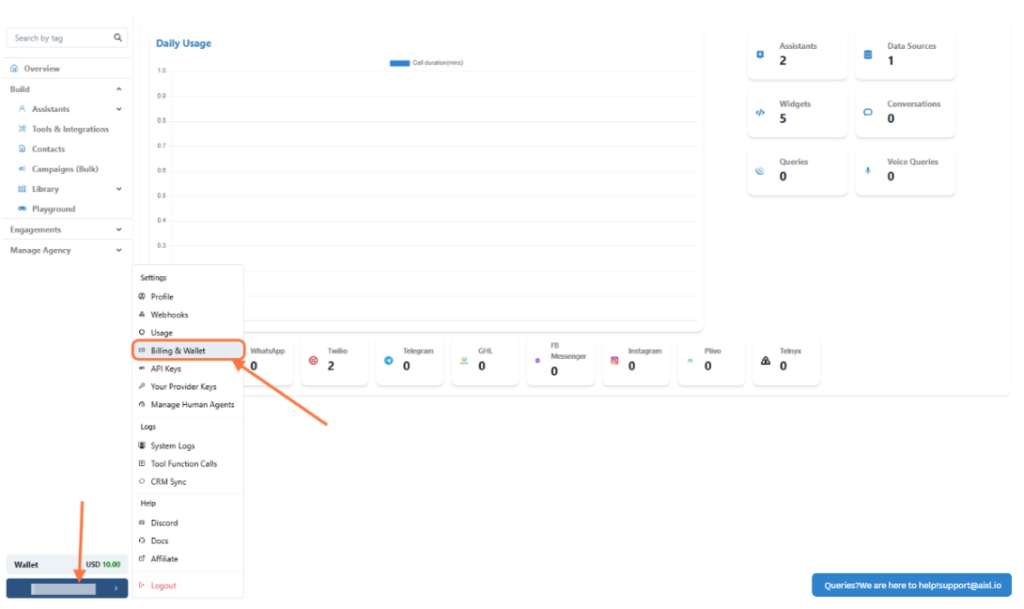
- Click on Billing & Wallet
Go to settings (From bottom left panel) and click on Billing and Wallet.
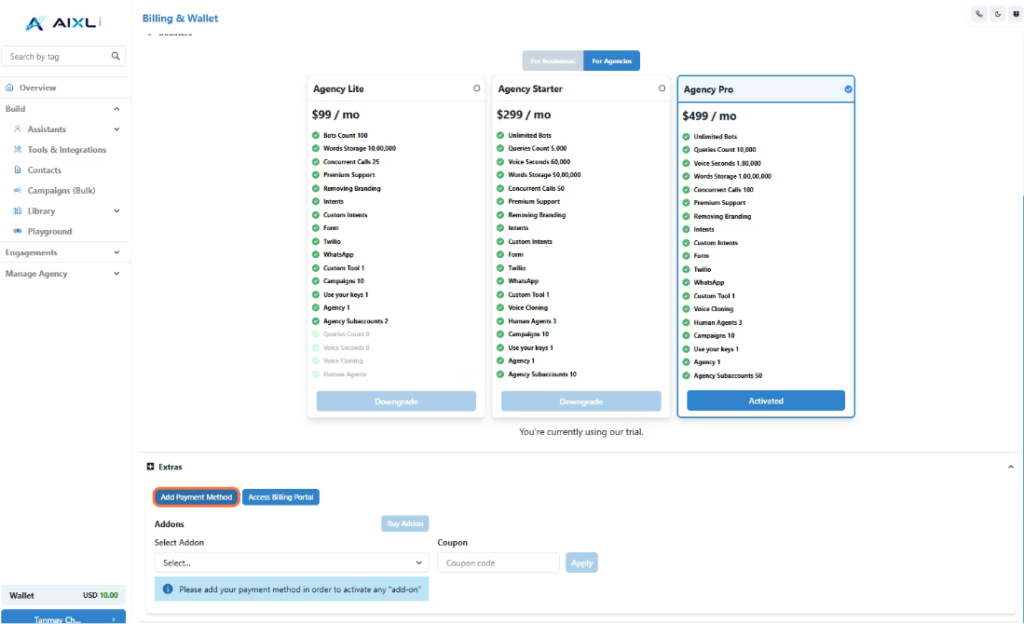
- Click on Add Payment Method
To access and purchase add-ons, you’ll first need to add a payment method:✅ Click the “Add Payment Method” button in your dashboard.
✅ A secure portal will open, allowing you to enter your card details.
✅ Once you’ve added your card details, your payment method will be saved, and you’ll be able to access the add-ons.
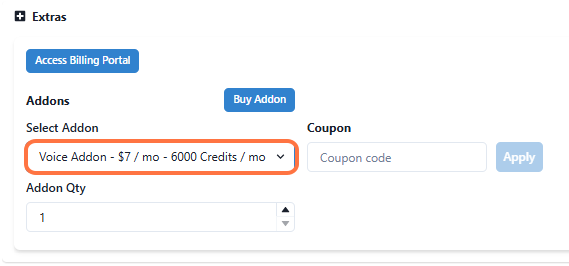
- Voice Add-On
Cost: USD 7 per monthThis add-on provides 6,000 credits for voice usage, enabling voice interactions with your AI assistant.
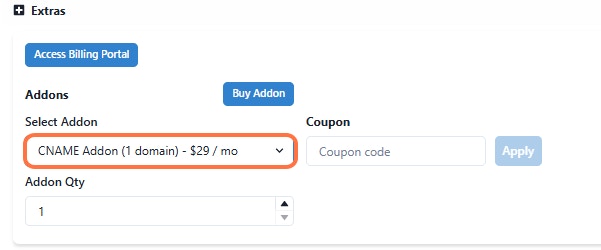
- CName Add-On
Cost: USD 29 per monthDescription: Host your chatbot on your own domain, creating a seamless, branded experience for your users.
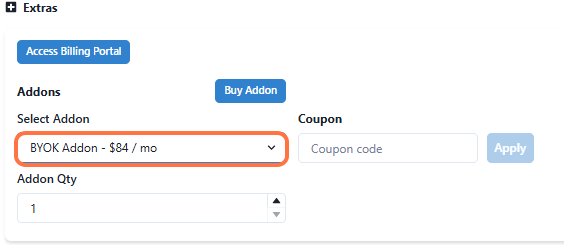
- BYOK (Bring Your Own Key) Add-On
Cost: USD 29 per monthFor users who prefer to use their own keys instead of platform credits or wallet funds.
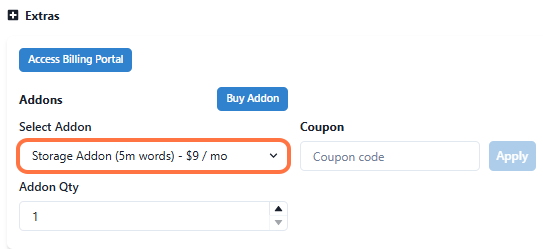
- Storage Add-On
Cost: USD 9 per monthExtends your storage capacity to 5 million words, enabling management of larger data sources for your AI assistants.
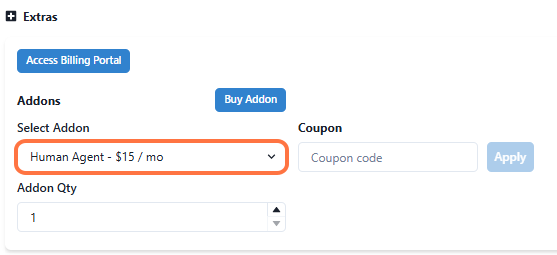
- Human Agent Add-On
Cost: USD 15 per monthAllows you to create access for a human agent to log in and handle chats when users request a transfer.
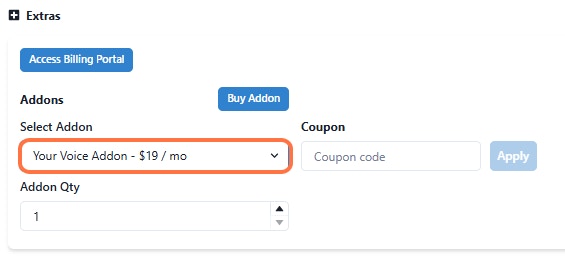
- Your Voice Add-On
Cost: USD 19 per monthEnables users to use their own voice on agents for personalized and engaging interactions.
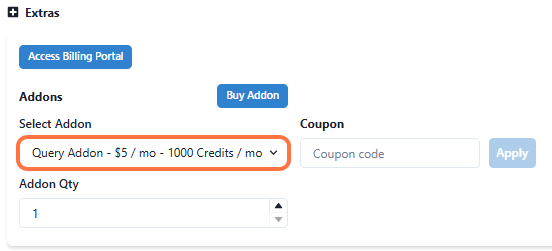
- Query Add-On
Cost: USD 5 per monthProvides credits for queries usage on chat agents, expanding your AI interactions.
Advance GHL Features
Using GHL Dynamic Variables, CRM Sync & Make a Call App
This guide will walk you through how to leverage dynamic variables from Go High Level (GHL) within prompts, enable CRM contact and conversation syncing, and trigger calls using the Make a Call App inside Insighto.These features are essential for building deeply integrated and responsive voice workflows with your AI assistant
- Prerequisites: Assistant & App Setup
Before you begin, ensure the following are set up:
- ✅ A Phone Assistant is already created using Twilio, Plivo, or Telnyx
- ✅ The Make a Call App is installed and active in your GHL account
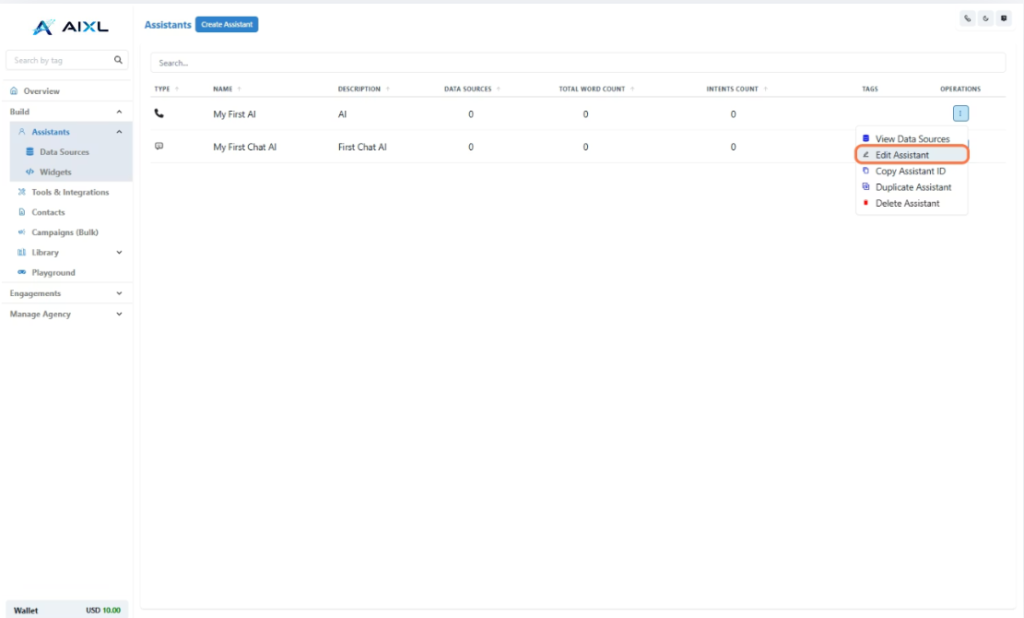
- Edit Any Existing Phone Assistant
Go to the Operations tab under Assistants.
- Click the three-dot menu beside the assistant you want to use
- Select Edit Assistant
- Enable Contact & Conversation Sync
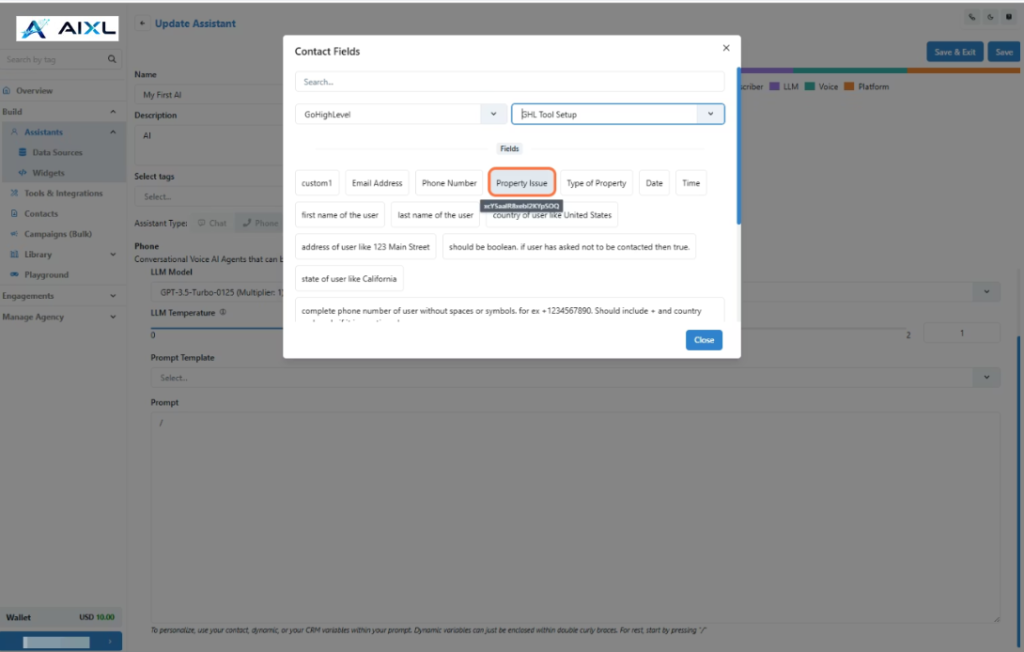
- Use Dynamic Variables in the Prompt
- Go to the Models section
- In the Prompt field, type a forward slash
/to open the variable menu - Choose a GHL Tool Configuration from the dropdown
- Select and insert variables like contact name, appointment time, etc., directly into your prompt
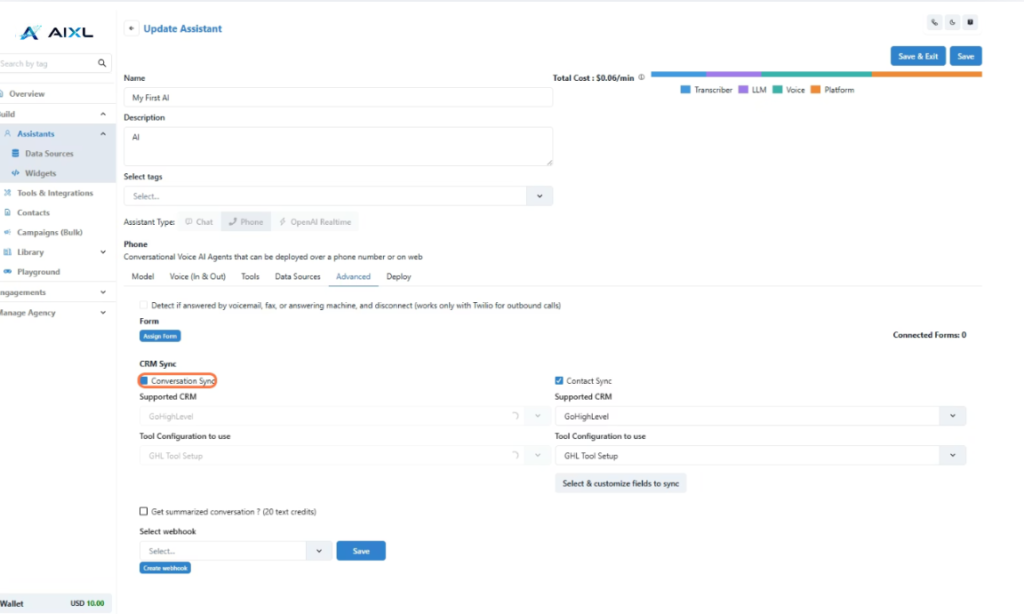
Navigate to the Advanced section and enable:
- Contact Sync
- Conversation Sync
This will:
- Automatically create a contact in GHL after a conversation
- Push the chat transcript to that contact’s profile in GHL
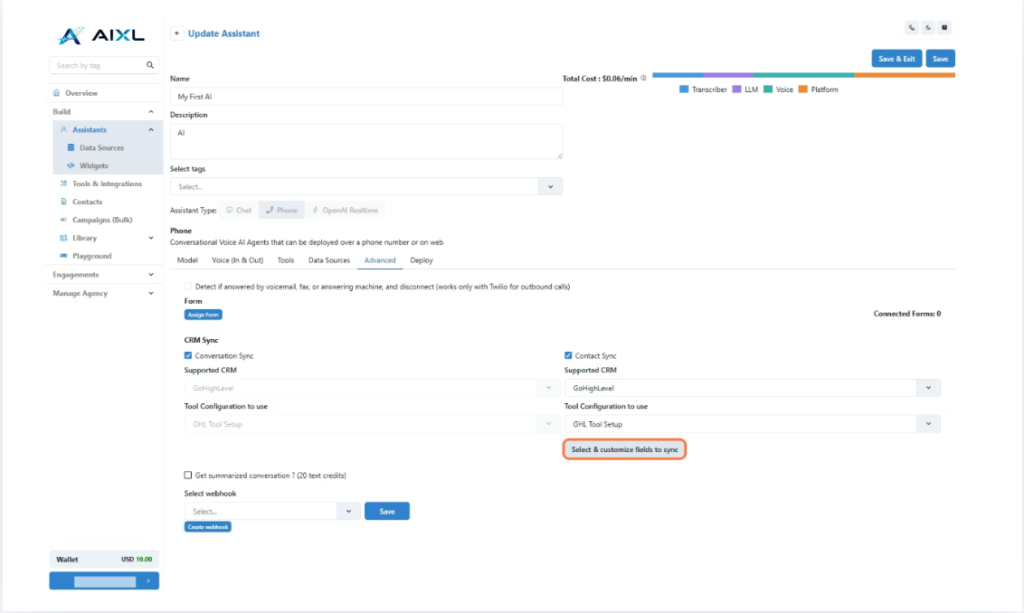
- Select & Customize Fields to Sync
Click the Select & Customize Fields to Sync button in the Advanced section.You’ll be able to:
- Choose which conversation fields should sync
- Map user data (name, phone, email, etc.) to GHL contact fields
- Trigger a Call When a New Contact Is Created
Go to your GHL Workflows and set up:
- Trigger: Use the “Contact Created” trigger
- Action: Add “Make a Call” from the Insighto app
This will place a call to the newly created contact.
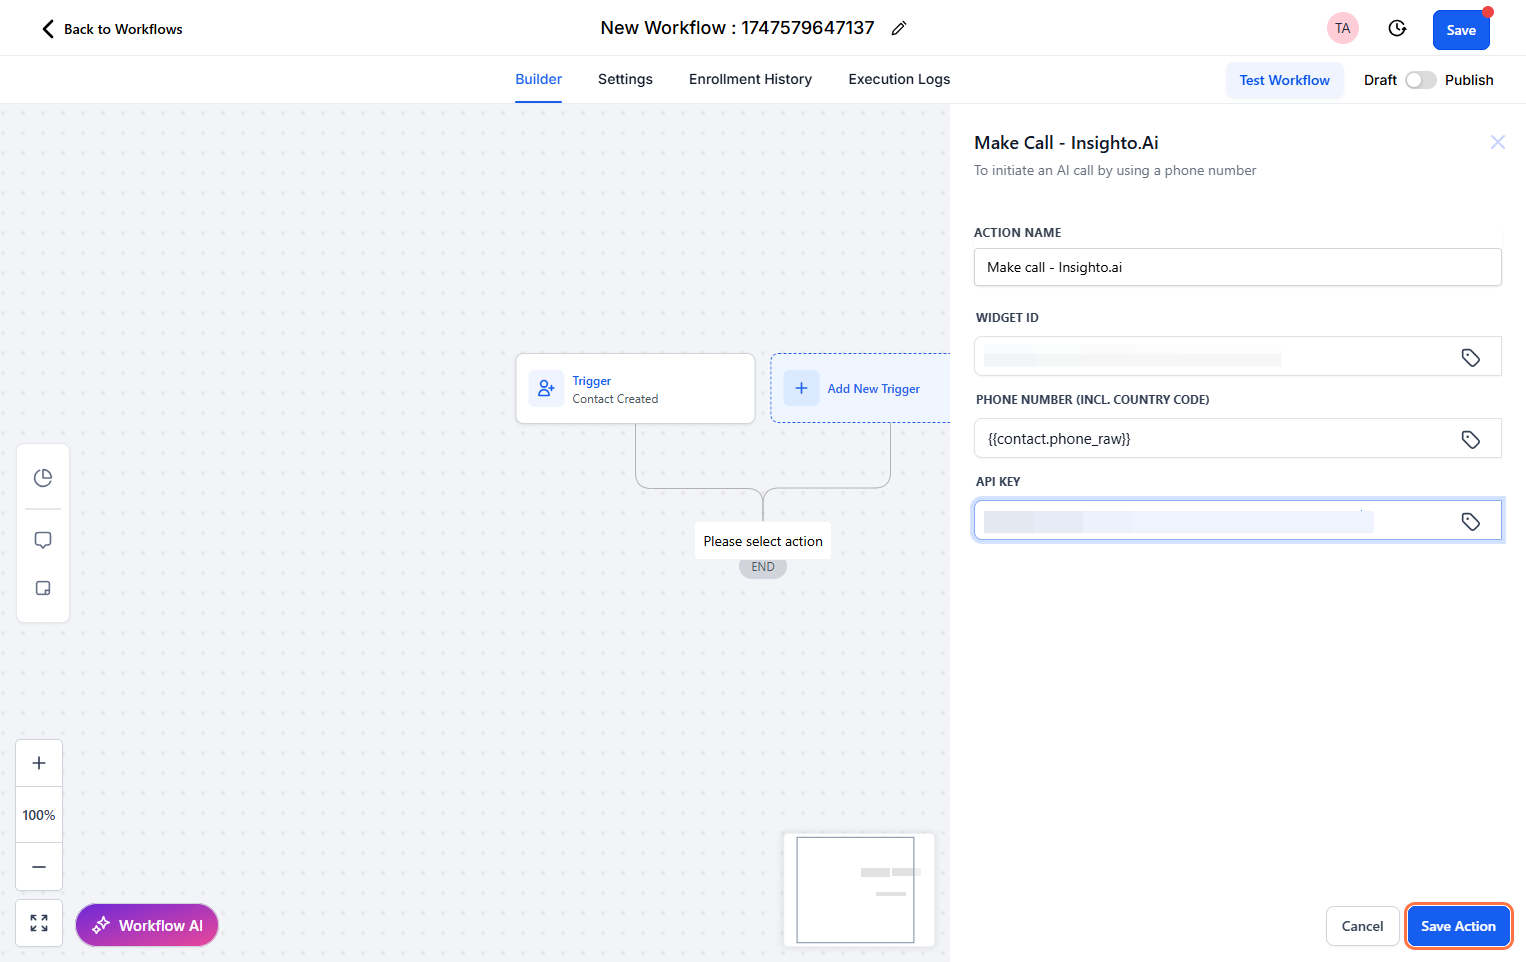
- Configure Call Action Details
Inside the Make a Call action:
- Widget ID – Find this in the Insighto Widgets section
- Phone Number Field – Select the GHL field containing the contact’s number
- API Key – Generate from Insighto (Settings → API Keys)
Paste your API key here to authenticate the call action.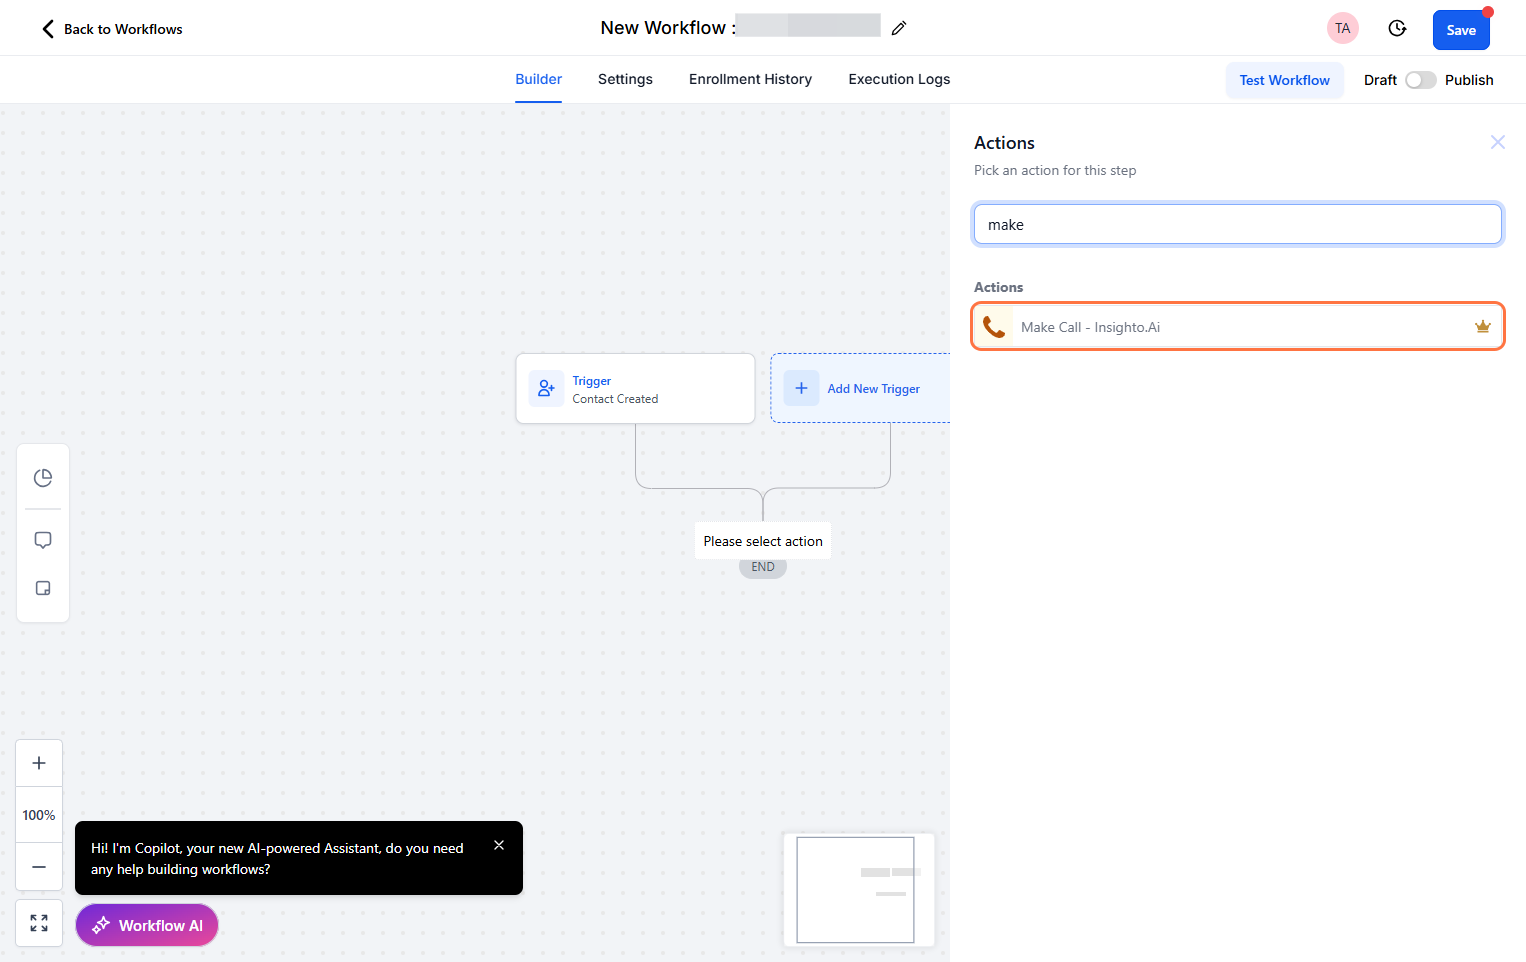
- Test the Workflow
- Create a new contact manually or via form
- Your workflow should trigger automatically
- The AI should initiate a call using the configured widget
Use a test number to confirm the call is successfully made.